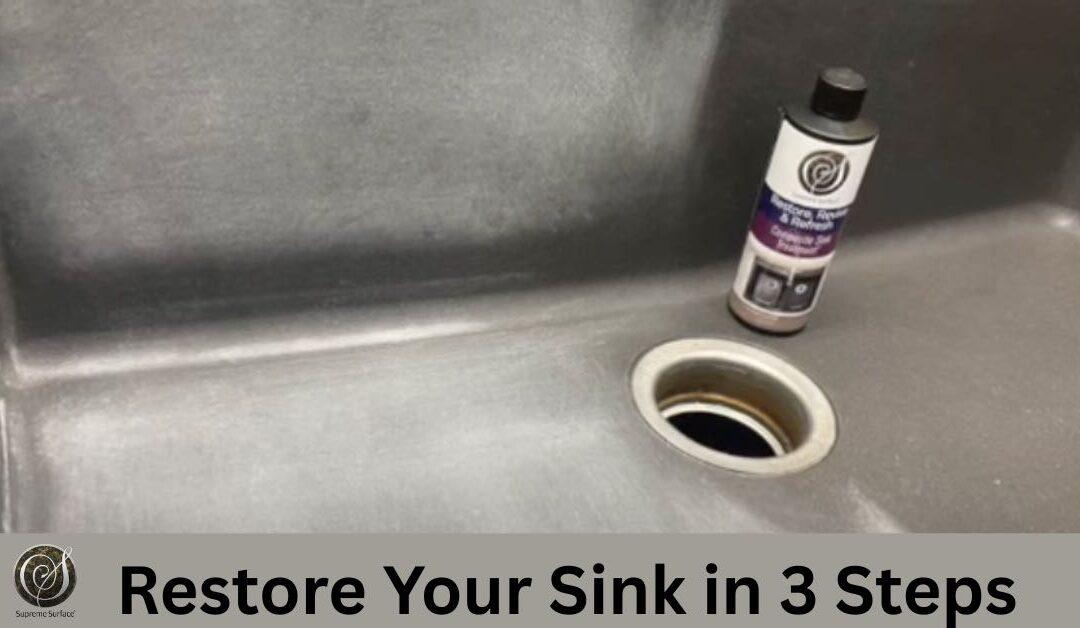
Supreme Surface® Composite Sink Restoration: RESET → HEAL → GUARD with ioSeal®
Repair deep stains, scratches, burns, etch marks & faded color with the Supreme Surface® Composite Sink Restoration System.
Avoid expensive replacement using the Supreme Surface® Composite Sink Care & Restoration System.
Shop the Supreme Surface® Composite Sink Restoration System →
How-to 3-Step Guide
Video Demonstration
Founder Tom Munro demonstrates professional abrasive reconditioning plus the full 3-step process.
Composite Sink Care, Surface Restoration & Reconditioning System by Supreme Surface®
RESET (Deep-clean & Decontaminate) → HEAL (Restore, Revive & Refresh) → GUARD with ioSeal® (Clean, Beautify & Protect)
Stop Using “Oil Hacks” and Improve Surface Performance!
Easy RESET for dirty, dull sinks with faded color, or Advanced RESET to repair deep scratches, burns, and etch marks — with the option to bring back a factory-new finish.
Product Solutions can be used independently for specific tasks or combined for complete surface restoration.
The system removes buildup, restores surface condition, and maintains performance with ioSeal®.
- RESET – EASY — Deep clean & decontaminate using Supreme Surface® RESET: Scum & Mineral Deposit Remover
- RESET – ADVANCED — Optional abrasive reconditioning for deep scratches, burns, and etch marks
- HEAL — Repair abrasive wear & faded color using Supreme Surface® HEAL: Restore, Revive & Refresh Composite Sink Treatment
- GUARD — Clean, beautify & protect with ioSeal® in one step using Supreme Surface® GUARD: Granite, Quartz & Marble Treatment.
Not epoxy, silicone, wax, or oil-based.
Step 1: RESET – Scum & Mineral Deposit Remover
Product Detail Page: Supreme Surface® RESET: Scum & Mineral Deposit Remover
A. RESET – ADVANCED (Optional Abrasive Reconditioning) — For Severely Damaged Sinks
When to use: burns, etch marks, deep scratches, pits, inconsistent texture, and stains too deep to resolve through cleaning alone.
To repair a composite sink with permanent or severe damage, use abrasives to cut deeper than the damage — starting with 60 or 80 grit (screenpad), followed by 120 grit or higher to eliminate fine scratches before Step 2 (as shown in the video). This step is complete when the repaired section looks uniform after a damp wipe.
B. RESET – EASY (Deep Clean) — Using Supreme Surface® RESET: Scum & Mineral Deposit Remover
- Saturate the sink completely.
- Let sit 1–3 minutes. Heavy buildup may require longer dwell time, an abrasive pad, or repeated applications until fully decontaminated.
- Agitate with a blue or green textured pad to assist with removing heavy buildup.
- Rinse thoroughly.
- Wipe dry. Inspect wet-to-wet and dry-to-dry.
- Repeat until no noticeable changes are observed wet-to-wet and dry-to-dry.
- This step is complete when the sink looks uniform while damp.
Decision Tree:
Acceptable when DRY? → Skip to Step 3
Only good when WET? → Proceed to Step 2
Spots remain wet AND dry? → Likely permanent damage (etching or heat). Return to RESET – ADVANCED for abrasive reconditioning of burns, etch marks, and deep scratches.
Need help? Not sure whether to sand or if you’ve sanded enough? Call or text our Expert Helpline: 317-865-0000.
Step 2: HEAL: Restore, Revive & Refresh Composite Sink Treatment
Product Detail Page: Supreme Surface® HEAL: Restore, Revive & Refresh Composite Sink Treatment
Instead of a temporary oil hack, HEAL addresses the material itself — filling shallow scratches, restoring color depth, and reducing surface absorption with each application.
Damaged sinks need more applications.
- Spray onto a clean, dry, room-temperature sink.
- Apply with spray, roller, brush, or sponge — wipe off all excess. Too thick is not good.
- Reduce dry time with a hairdryer held 12″ above the surface (warm air until dry).
- Surface must be dry and at room temperature before the next application.
- Final layer: Let sit 1 hour at room temperature until fully dry.
- More damage = more layers (3–5 for dull sinks).
- Repeat until no noticeable changes are observed.
* +2 applications for all restored sinks: When you think you’re finished, apply 2 additional coats to ensure full material saturation.
Step 3: GUARD — Granite, Quartz & Marble Treatment with ioSeal®
Product Detail Page: Supreme Surface® GUARD: Granite, Quartz & Marble Treatment with ioSeal®
The final step uses Supreme Surface® GUARD to Clean, Beautify & Protect with ioSeal® — working via ionic attraction to level at the surface plane, reducing mineral adhesion and making routine cleaning easier.
- Spray sink and countertops.
- Wipe with a soft cloth or paper towel.
- Use daily on sinks for 3 days, then weekly or more.
- Use frequently enough so water spots wipe away easily.
Future Recommended Care – The Gold Standard Routine
Soft sponge + dish soap + rinse + wipe dry = water spots gone.
Our Story: Professional Science, Not “DIY Hacks”
Our journey into composite sink restoration started in 2010. At the time, Supreme Surface was a stone care company transitioning into restoration. We noticed a recurring problem: dark sinks — black, brown, and grey — developing a white haze that wouldn’t resolve.
Oils and waxes offered temporary results and often attracted grime over time. We developed this system to provide a professional-grade solution that addresses the material directly. Since 1994, our performance systems have been developed in the field and proven in practice.
Stop Guessing. Talk to a Real Person.
If you’re staring at a white heat ring, a deep chemical etch, or aren’t sure which step to start with — we can help directly.
Text a photo of your sink’s damage to 317-865-0000 and get a real walkthrough from someone who knows composite sinks — not a bot, not a contact form.
Whether you need to sand out a burn or strip years of mineral buildup, we’ll walk you through the RESET → HEAL → GUARD process step by step.
Text us at 317-865-0000.