Supreme Surface® Composite Sink Restoration: RESET → HEAL → GUARD with ioSeal® ✅
- How-to 3-Step Guide
- Video Demonstration
Founder Tom Munro demonstrates professional abrasive reconditioning plus the full 3-step process.
Composite Sink Care, Surface Restoration & Reconditioning System by Supreme Surface®
RESET (Deep-clean & Decontaminate) → HEAL (Restore, Revive & Refresh) → GUARD with ioSeal® (Clean, Beautify & Protect)
Stop Using “Oil Hacks” and Improve Surface Performance!
Easy RESET path for dirty, dull sinks with faded color, or Advanced RESET to repair deep scratches, burns, and etch marks shown in our latest video to bring back a factory-new finish—permanently.
Product Solutions can be use independantly for specific tasks or combined for complete surface restoration.
The system removes buildup, restores color from the inside out, and provides long-term protection with ioSeal® technology.
- RESET – EASY – (Deep clean) using Supreme Surface® Scum & Mineral Deposit Remover +
- RESET – ADVANCED – optional abrasive repair for deep scratches, burns, and etch marks
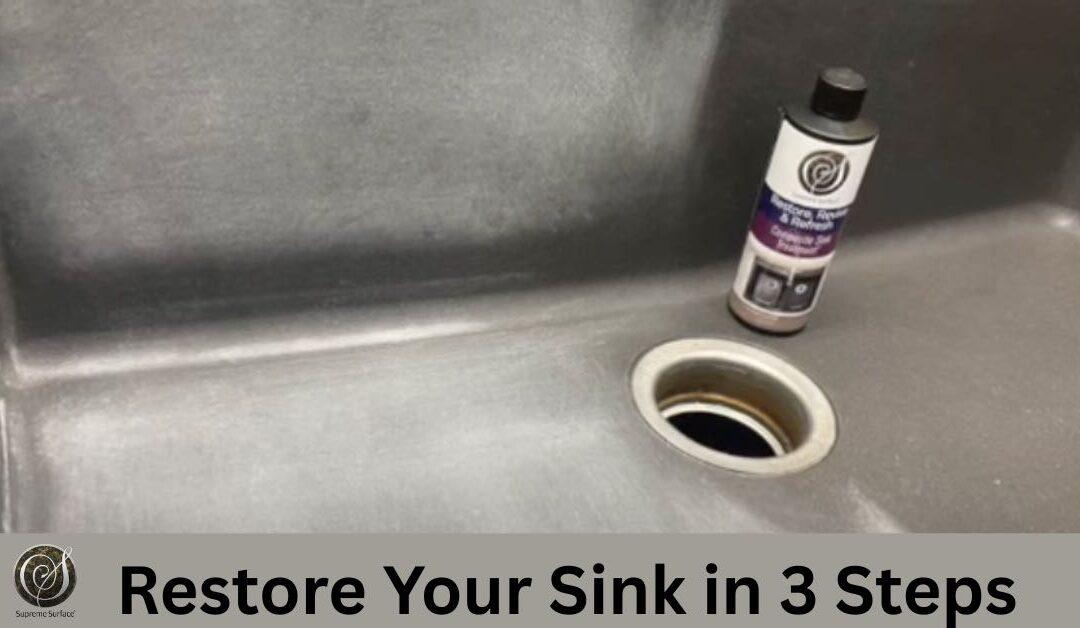
- HEAL Deep-Seal – Repair Abrasive Wear & Faded Color using Supreme Surface® Restore, Revive & Refresh™
- GUARD – with ioSeal® using Supreme Surface® All-In-One Granite Quartz & Marble Treatment with ioSeal®
Note: Not epoxy, silicone, wax, or temporary oil hacks.
Step 1: RESET – Deep Clean & Decontaminate
Product Detail Page: Supreme Surface RESET (Scum & Mineral Deposit Remover)
A. RECONDITION RESET (Optional Abrasive Repair) – For Severely Damaged Sinks
When to use (burns, etch marks, deep scratches, pits, inconsistent texture, and stains too deep to resolve while cleaning).
In order to repair a composite sink with permanent or severe damage, use abrasives to cut deeper than the damage by using a 60 or 80 grit (screenpad) → followed by 120 grit or higher to avoid seeing fine scratches after Step 2 (as shown in the video). You will be finished with abrasive repair option when the repaired section looks good after a damp wipe (rinse & wipe). RINSE→ WIPE→ LOOK👀✅
B. EASY RESET (Deep Clean) – Using Supreme Surface® Scum & Mineral Deposit Remover
- Saturate the sink completely.
- Let sit 1–3 minutes (heavy buildup = longer time or use abrasive pad during restoration + repeat until decontaminated).
- Agitate with blue or green textured pad to assist with removing heavy build during restoration.
- Rinse thoroughly.
- Wipe dry. Inspect wet-to-wet and dry-to-dry.
- Repeat until no noticeable changes (wet-to-wet and dry-to-dry)
- Complete with this step when sink looks good damp. RINSE→ WIPE→ LOOK👀✅
Decision Tree:
✅ Acceptable when DRY? → Skip to Step 3
✅ Only good when WET? → Do Step 2
❌ Spots remain wet AND dry? → Permanent damage (etching/heat) Revert to RESET – Advanced Abrasive Repair Option for burns, etch marks and deep scratch repairs.
💡 Need Help? Not sure if you should sand or have sanded enough? Call or text our Expert Helpline at 317-865-0000.
Step 2: HEAL – Deep-Seal
Product Detail Page: Supreme Surface HEAL (Restore, Revive & Refresh) Composite Sink Treatment
This is where we end the ‘oil cycle’ forever. Instead of a temporary oil hack for shine, use Supreme Surface® Restore, Revive & Refresh™ for a permanent fix. This deep-penetrating sealer works from the inside out, filling shallow scratches and building color depth. With each application, it builds layers that fill abrasive wear, lower absorption, and cure into a hardened shell.
Damaged sinks need more applications.
- Spray onto clean, dry, room-temperature sink.
- Apply with (spray, roller, brush, or sponge) wipe off all excess. Too thick is not good!
- Reduce dry time with hairdryer 12″ over top (warm air until dry).
- Surface must be dry and room temp before next application.
- Final layer: Let sit 1 hour at room temp until fully dry.
- More damage = more layers (3-5 for dull sinks)
- Repeat until no noticable changes
* +2 applications for All Restored Sinks: When you think you’re finished, do it +2 more times to build up additional layers of protection.
Step 3: GUARD (Long-Term Ionic Protection)
The final step uses our proprietary ioSeal® technology. This creates an ionic bond that protects the surface at a molecular level.
By “Guarding” the surface, you create a shield against future stains and mineral buildup. You can say goodbye to harsh chemicals and aggressive scrubbing. This isn’t just a shine; it’s a protective barrier that makes routine care effortless.
- Spray sink and countertops.
- Wipe with soft cloth or paper towel.
- Use daily on sinks for 3 days, then weekly or more.
- Use frequently enough so future water spots wipe away easily.
Future Recommended Care – The Gold Standard Routine
Soft sponge + dish soap + rinse + wipe dry = water spots gone.
Our Story: Professional Science, Not “DIY Hacks”
Our journey into composite sink restoration started in 2010. At the time, Supreme Surface was a stone company transitioning into restoration. We noticed a recurring problem: dark sinks (black, brown, grey) developing a white haze that wouldn’t go away.
People were using oils and waxes, but the results were temporary and often made the sink worse by attracting grime. We developed our system to provide a professional-grade solution that actually lasts. Since 1994, our performance systems have been developed in the field and proven to work.
Stop Guessing. Talk to a Real Person. get support when You Need It
Google is great for “hacks,” but it won’t help you when you’re staring at a white heat ring or a deep chemical etch on an expensive sink. Most brands hide behind a contact form; we don’t.
If you are nervous about using abrasives or aren’t sure which step to start with, get a professional consultation right now.
Text a Photo: Take a clear picture of your sink’s damage and text it to 317-865-0000.
Get a Direct Walkthrough: You won’t get a bot. You’ll get real guidance from experts like Tom Munro who designed the system and knows exactly how to fix your specific brand of composite sink.
The “Pro” Advantage: Whether you need to sand out a burn or just strip away years of mineral buildup, we will walk you through the Reset, Heal, and Guard process so you can stop the “oil and repeat” cycle for good.
Don’t risk your sink on a search engine result. Text us at 317-865-0000 and let’s get it back to brand new.